
Crevano · Templates · Travel Templates
Travel Templates
13 templates for a trip, covering both sides of one: the pieces a tour operator prints to sell a week away, and the pieces a traveler prints for their own. That includes the destination brochures and the rack card at one end, and the itinerary, the packing checklist, the reveal card and the photo book cover at the other. All at 300 DPI, all editable in the browser, and all yours to use commercially.
| Trim sizes | 24 × 36 in · 18 × 24 in · 11 × 14 in · 8.5 × 11 in · 11 × 8.5 in · 8.5 × 8.5 in · 4 × 9 in · 5 × 7 in |
|---|---|
| Bleed | none · 0.125 in |
| Resolution target | 150 DPI · 200 DPI · 300 DPI |
| Templates | 13 |
| Pages | 15 |
No templates match that.
Travel templates (13)
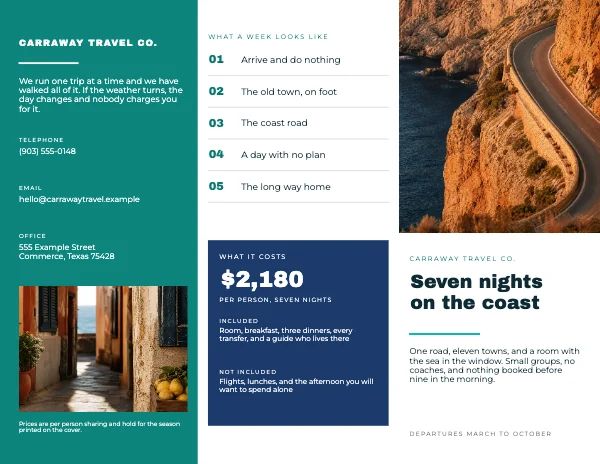 Travel Destination Tri-Fold BrochurePro
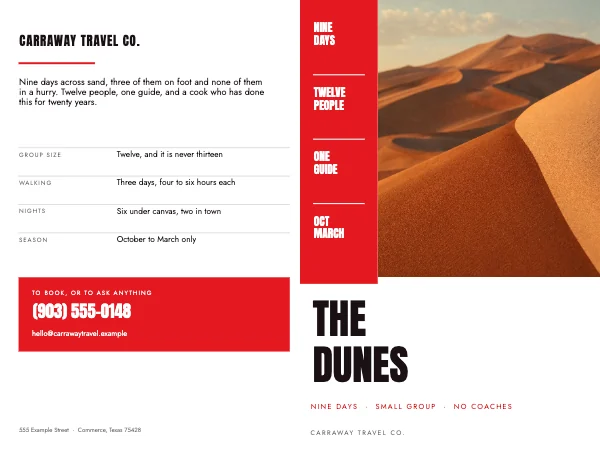 Travel Destination Bi-FoldPro
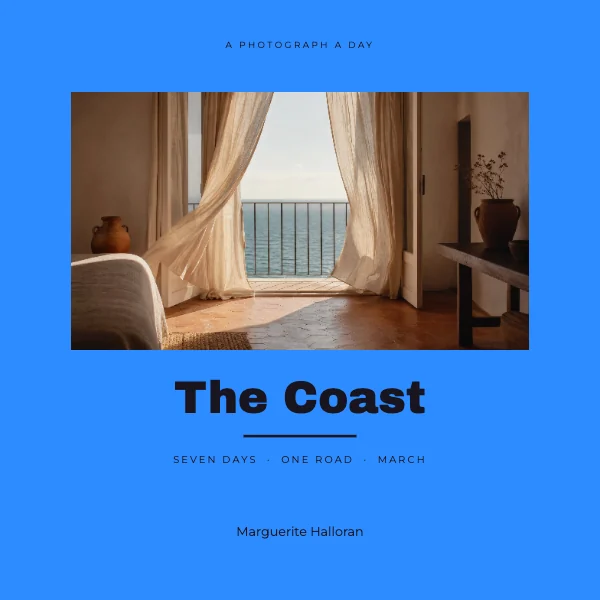 Travel Vacation Photo Book CoverPro
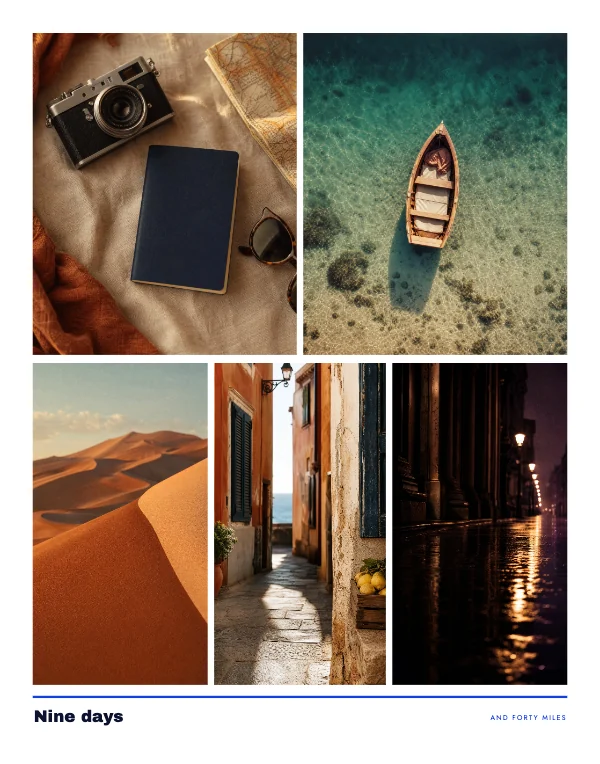 Five Frame Photo Collage PrintPro
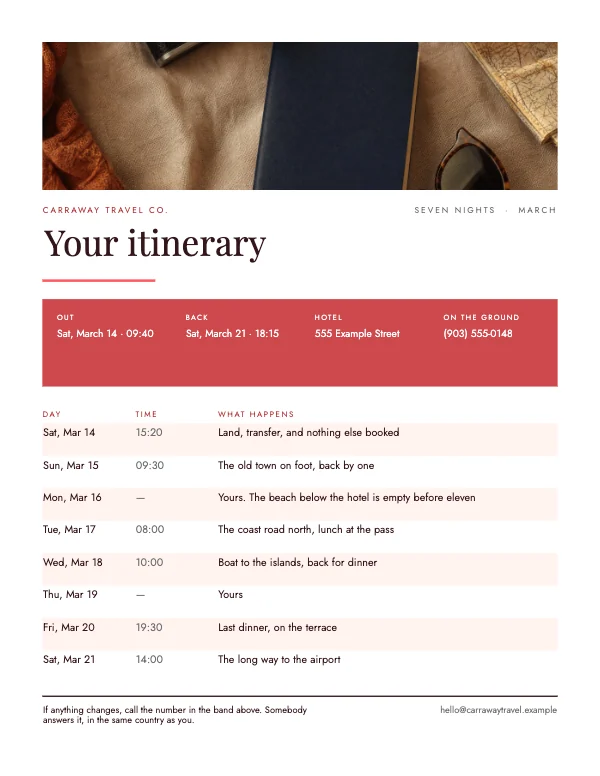 Travel Trip ItineraryPro
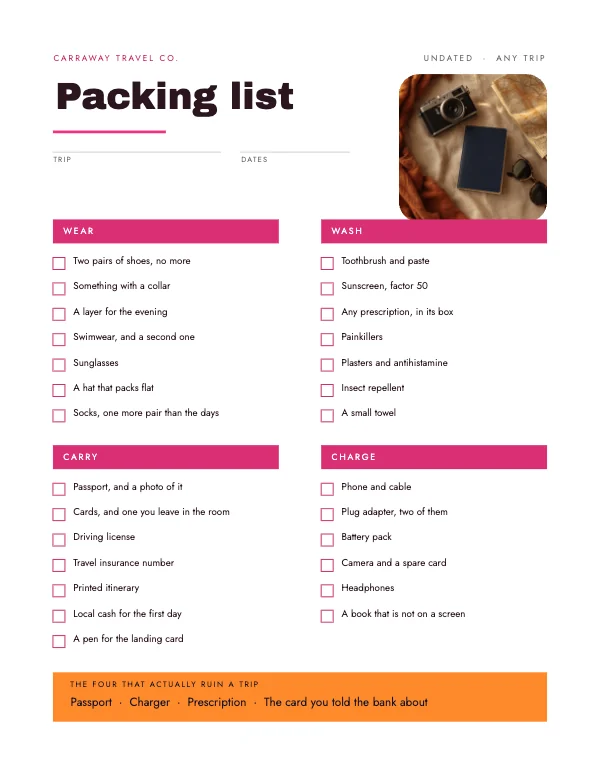 Travel Packing Checklist
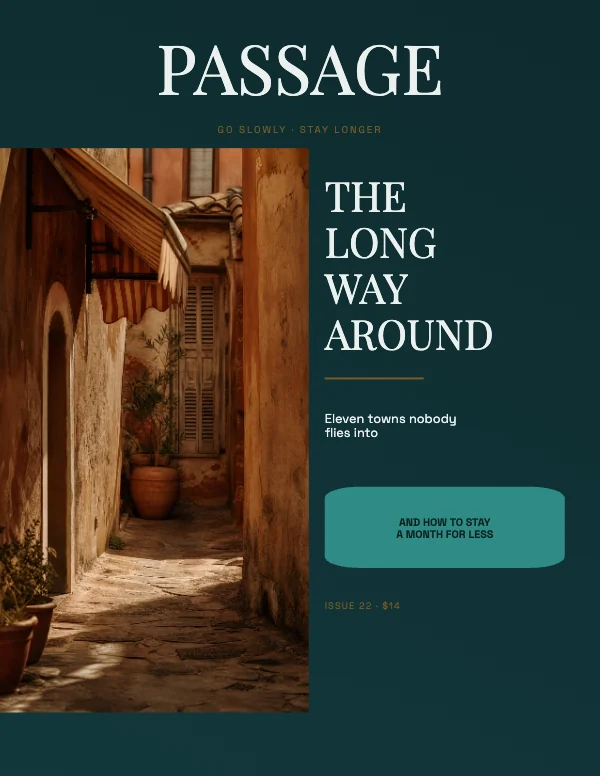 Editorial Travel Magazine CoverPro
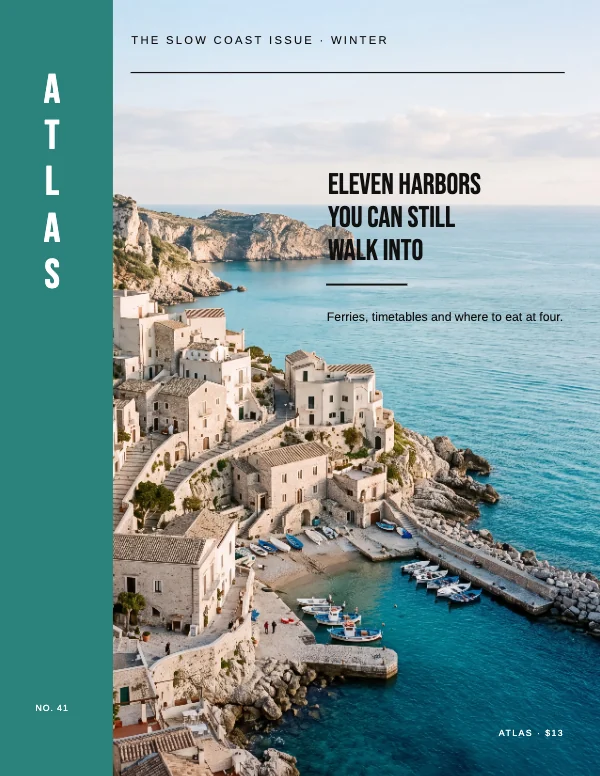 Teal and Limestone Spine Full-Bleed Travel Magazine CoverPro
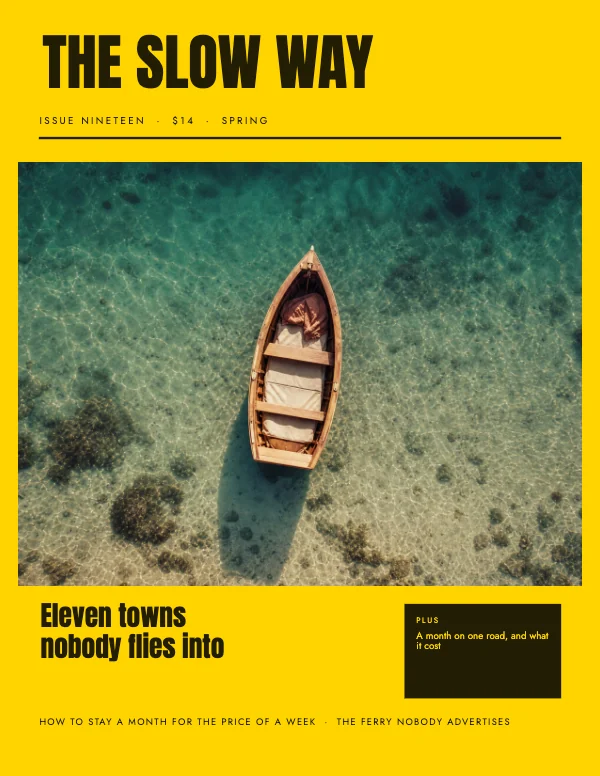 Travel Magazine CoverPro
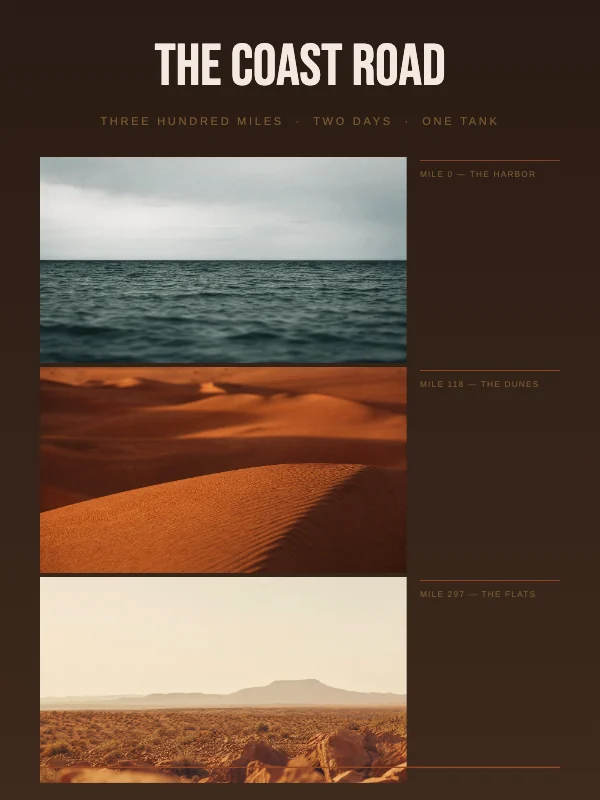 Vintage Coast Road Travel Poster
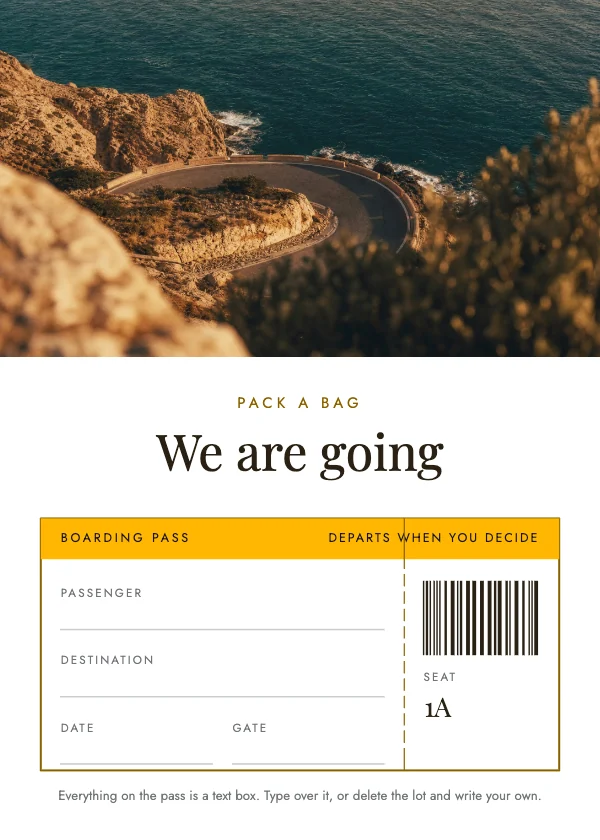 Travel Trip Reveal CardPro
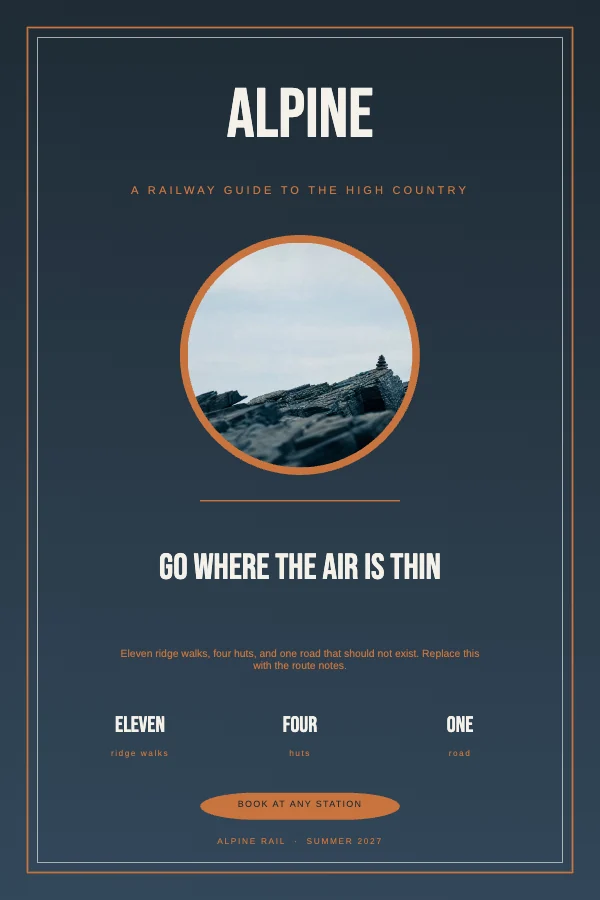 Vintage Mountain Travel PosterPro
 Travel Agency Rack CardPro
No template here names a place, and that is deliberate
It is the first thing you will notice and the thing worth understanding before you change anything else. Not one of these sheets says where it is. There is no country on the brochure cover, no city on the itinerary, no region on the poster.
The photographs are not photographs of anywhere. They are a coast, a dune, a mountain and a road — real pictures of a kind of place rather than pictures of a named one. So printing a place name across one would be a claim we cannot support, and it would be a claim on an object that cannot be recalled: a brochure is printed in thousands and a poster hangs on a wall for years. A picture captioned with a destination it is not is the kind of mistake that is invisible to the person who made it and obvious to the one person who has been there.
What that means for you is simple and it is mostly an advantage. Every one of these is a layout first, so the destination is the first field you replace — with your own name for the place, over your own photograph of it. If you are printing at any volume, matching the picture on the sheet to the words under it is your responsibility, and it is the one decision on this page with a consequence outside design: advertising a trip with a photograph of somewhere else is a problem long before it is a taste problem.
The type is drawn to take a long place name and a short one without the layout moving, which is the practical part of the same decision.
The two audiences, and they want opposite things
This page carries both because they use the same photographs and the same trims, but the pieces are not interchangeable.
Selling a trip. The tri-fold and bi-fold brochures, the rack card, the magazine cover. These are read by somebody who has not decided yet, standing in a rack or sitting in a waiting room, and the price and what it includes have to be findable in one pass. The tri-fold gives a whole panel to what is and is not included, which is the panel that closes the sale and the panel most brochures leave out.
Taking a trip. The itinerary, the packing checklist, the reveal card, the photo book cover, the posters. The reader has already decided; the job is to be useful in a taxi, at a kitchen table, or in a frame afterward. These are printed one at a time, usually at home, and that is why most of them carry no bleed.
If you are picking between them, ask who is holding the paper. A rack card handed to somebody who has already booked is a leaflet about nothing; an itinerary handed to somebody who has not booked is a spreadsheet.
The rack card is mostly hidden, and the design has to know it
A 4 × 9 card in a brochure rack is in a pocket, and the pocket covers the bottom of it. Only the top few inches are visible until somebody picks it up.
So on the rack card here the photograph, the headline and the price all sit above 3.6 inches, and everything below that line is written for a reader who is already holding it. That is the whole craft of the format: a rack card designed as a small poster puts its best line where nobody standing in a lobby will ever see it.
The same logic applies one step earlier to the brochure on a table, where the fold decides what is visible. On the tri-fold, the outer panels are 3.6875 inches against a 3.625 inch tuck-in panel — the sixteenth of an inch a printer allows on text weight so the inside panel actually tucks — and the inside face is mirrored. The bi-fold has two equal 5.5 inch panels and no nest at all, because nothing tucks inside anything on a half fold, so it does not want the tri-fold's allowance. Sending a bi-fold built with a tuck-in panel to a printer produces a fold that is off by a sixteenth on every copy in the run.
What resolution actually costs you on a trip photograph
Holiday photographs are the hardest case in the whole library, and not for the reason people expect. The camera is fine. The route the file took is not.
A photograph that has been through a messaging app, a shared album or a social upload is commonly 1080 or 1200 pixels on its long side by the time it reaches you. On a phone it is perfect. Across the head of an 8.5 × 11 itinerary — 7.3 inches wide — 1200 pixels is about 165 DPI, which is soft. Across a 24 × 36 poster it is not a photograph any more.
Crevano shows the effective resolution at the size you have actually placed the picture and names the axis that ran out. Two rules follow from it:
- Get the original off the camera or the phone, not out of the chat. The file you were sent is a copy made for a screen.
- Large format does not need what you think. A poster read from six feet is honest at 200 DPI, and one read from across a room at 150 — which is why the 18 × 24 here is built at 200 and the 24 × 36 at 150. The number that matters is pixels at final size against viewing distance, not a number a camera claims.
There is one honest limit worth stating plainly, because it shaped these templates. Nothing in the travel photography ships large enough to bleed a Letter page at 300 DPI — 8.00 inches is what the biggest of it holds, and a Letter page with bleed needs 8.75. That is why the magazine cover puts the photograph in a panel and lets an inked ground reach the trim, and why the photo book cover does the same. Your own photograph may well be bigger; the layouts do not assume it.
Printing: at home, at a shop, and into a book
The itinerary and the packing checklist print at home. Both are built with no bleed, because a home printer cannot reach the edge of plain stock, and the checklist keeps 0.75 inch clear on both edges so a punched hole misses the ink whichever side you file it on. The checklist is undated and names no destination on purpose — one sheet prints for every trip you ever take, which is the only reason a printable packing list is worth keeping.
The brochures, the rack card and the reveal card go to a shop. All carry 0.125 inch of bleed because color runs off the edge and a blade always moves a fraction. Send a PDF at the trim size with the bleed included, and say the trim out loud rather than letting the shop guess it from the file. Crevano writes each page as a lossless 300 DPI image inside the PDF, which is good for print and is not the same thing as a vector PDF — so if a printer asks for crop marks or vector type, have that conversation before you send it.
The photo book cover is a front cover, not a book. It is built at 8.5 × 8.5 inches because that is the largest square trim in KDP's custom range, and it keeps KDP's own 0.25 inch safe area from the trim. The interior pages are a separate job; this is the face of it.
Questions
What size is a travel brochure?
11 × 8.5 inches — a letter sheet turned landscape, folded. That is the sheet both brochures here are built on, and it is what a print shop expects when you ask for a brochure without saying anything else. The tri-fold folds into three panels of roughly 3.67 inches; the bi-fold folds once into two of 5.5. Anything larger is a different conversation with the printer and a different price.
Can I use one of these for a school travel brochure project?
Yes, and it is a common reason people look for one. Everything here is yours to use with no watermark and no credit required. Two things make it easier for a school project specifically: the brochure is a real fold rather than a picture of one, so it prints and folds like the object it is meant to be, and no destination is named anywhere, so the country is genuinely yours to choose rather than something to paint over.
Do I need bleed on these?
It depends which piece, and both answers are on this page. Yes on the brochures, the rack card and the reveal card: color runs to the edge, the blade moves a fraction, and 0.125 inch of extra artwork is what stops a white sliver appearing. No on the itinerary, the checklist and the posters — they are printed at home or hung with a margin, nothing reaches the trim, and printing without bleed makes cutting by hand far more forgiving.
What does 300 DPI actually mean for my holiday photos?
Pixels per printed inch at the size you actually use the picture, not a setting on a camera. A photograph placed 7 inches wide at 300 DPI needs 2,100 pixels across the part you use. A photo that has been through a messaging app is often 1080 or 1200 pixels total, which is fine on a phone and soft on paper. Get the original file rather than the copy you were sent.
Can I print the itinerary and the packing list at home?
Yes — both are built for it. No bleed, plain letter stock, and the checklist keeps three quarters of an inch clear on both edges so a hole punch does not go through the boxes. The itinerary puts the flights and the hotel at the top because that is the part somebody reads in the back of a taxi.
Why is the packing list undated and blank?
Because a packing list with a destination and a date on it is a packing list you use once. This one is deliberately reusable: five columns of boxes and a strip for the handful of things that actually ruin a trip if they are left behind. Print it, tick it, print it again next year.
What size is a rack card?
4 × 9 inches, which is the size a standard brochure rack pocket is built for. The part that matters is that the pocket hides the bottom of it — so the photograph, the headline and the price on this one sit in the top 3.6 inches, and the detail underneath is written for somebody who has already picked it up.
Can I make a travel photo book with this?
You can make its cover. The square cover here is 8.5 × 8.5 inches — the largest square trim KDP's custom range offers — with their 0.25 inch safe area held from the trim, so it drops into a print-on- demand book without a redesign. The interior pages are a separate job, and the wall art and collage sheets are the other way people keep the same photographs.
What will the print shop ask me for?
A PDF at the trim size with bleed included where the piece has it, and the trim said out loud rather than guessed from the file. For a brochure, tell them the fold as well — tri-fold and bi-fold are different jobs and the panels are not the same width. Crevano exports each page as a lossless 300 DPI image inside the PDF; if the shop wants crop marks or vector type, ask before sending rather than after.
Can I use these for a client, or sell what I make?
Yes, including client work — an agency or a tour operator can print what it makes here. What you make is yours to use commercially, on the free plan as well as the paid one, with no watermark, no royalty, no credit required and no expiry, and it stays true if you cancel. Which templates sit on which plan is shown by the badge on every tile above, and set out on the plans page.
Where to go next
Put together an occasion
Every category
How printing works
Open any of these and it is already the right size. Bleed, margins and trim are set, and there is no watermark on anything you export — on any plan, ever.