
Crevano · Templates · Graduation Party Templates
Graduation Party Templates
9 templates for one graduation party, and most of them are sheets you print on cardstock and cut out by hand — the cake toppers, the pennant banner, the favor tags, the table tents, the photo booth props and the advice cards. Plus the yard sign for the lawn and the announcement for the mail.
Every sheet is 8.5 × 11 with no bleed, because a home printer cannot reach the edge of plain stock, and every cut line is drawn 1/16 inch outside the ink so a hand cut that wanders lands in white paper instead of biting the design.
No templates match that.
Start with the party, not the announcement
If you are doing this in the week before, the order that saves the most time is: cake topper, pennant banner, table tents, favor tags. Those four are the ones people notice and the ones that photograph, and all four come off a single sheet of cardstock each.
The photo booth props and the advice cards are the two that need a person to have thought about them in advance — props need a straw or a skewer taped on, and advice cards need a jar and a pen on the table. They are worth it and they are not urgent.
The announcement is the piece with the longest lead time and the one to do first if you are further out, because it has to be printed, addressed and mailed.
Solid means cut. Dashed means fold.
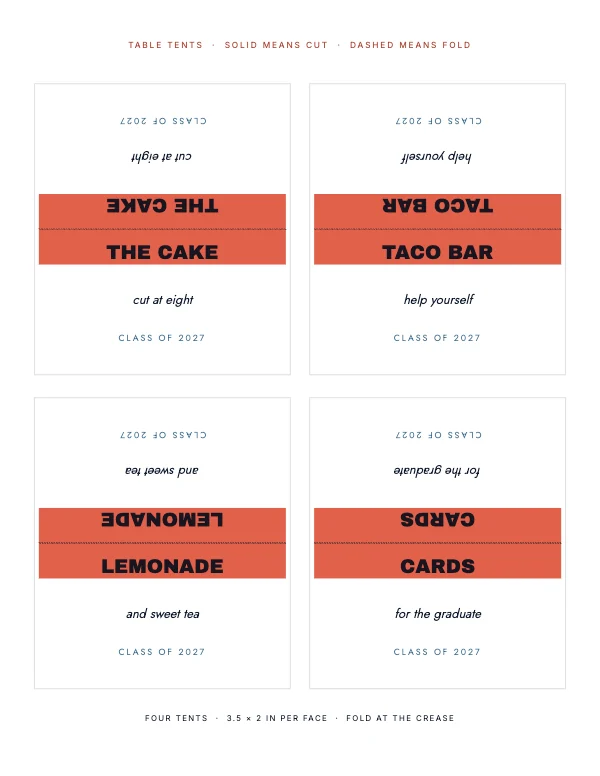
Across every sheet here: cut on the solid gray line. The table tent sheet is the only one that also folds, and its fold is a dashed dark rule across the middle of each tent — different in both line style and color, so the two are never confused.
The cut line sits exactly 1/16 inch outside the ink rather than on it. That is the whole difference between a hand-cut sheet that looks made and one that looks homemade — cut slightly wide and you get a clean white edge; cut on the ink and every wobble shows as a bite out of the design.
Use the heaviest stock your printer takes. Toppers and props are held up and need to stay rigid; tags and table tents get handled all evening.
What each sheet gives you
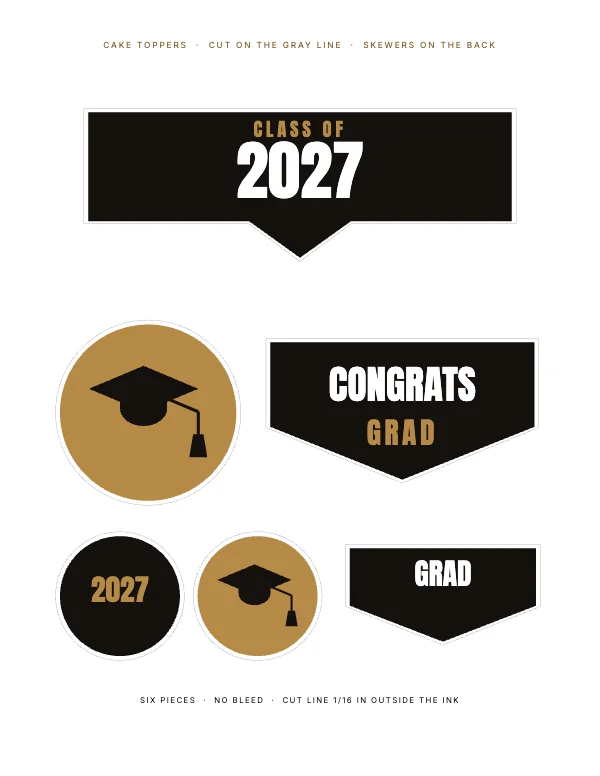
Cake topper sheet — six pieces, including a class-year banner about 6 inches wide, a mortarboard and a congratulations pennant. Tape a skewer to the back and push it into the cake or a cupcake.
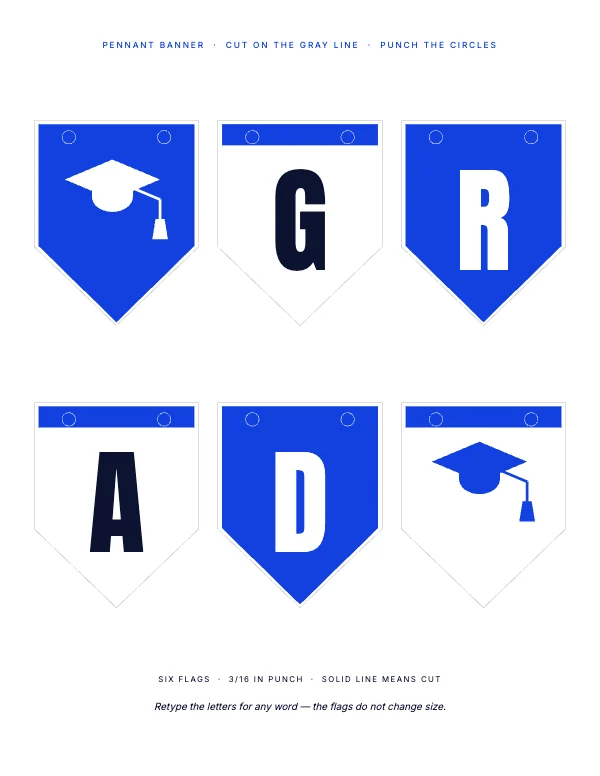
Pennant banner — six flags that spell out the word plus two end flags, each with punch marks drawn 3/8 inch inside its own top edge so the twine runs straight.
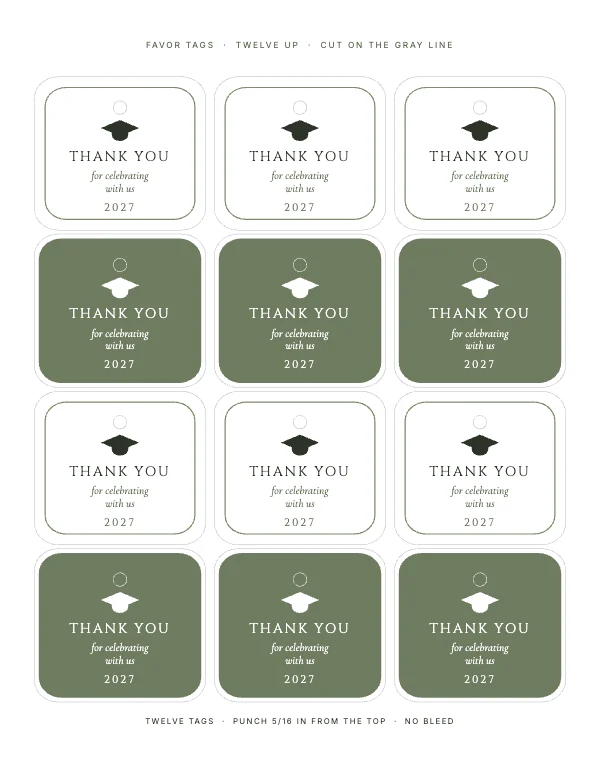
Favor tags — twelve tags per sheet, each with a punch mark 5/16 inch inside the top edge and all type set clear of it, so a hole punch never lands on a letter.
Table tents — four folded tents, 3.5 × 2 inches per face, for the buffet or as place cards.
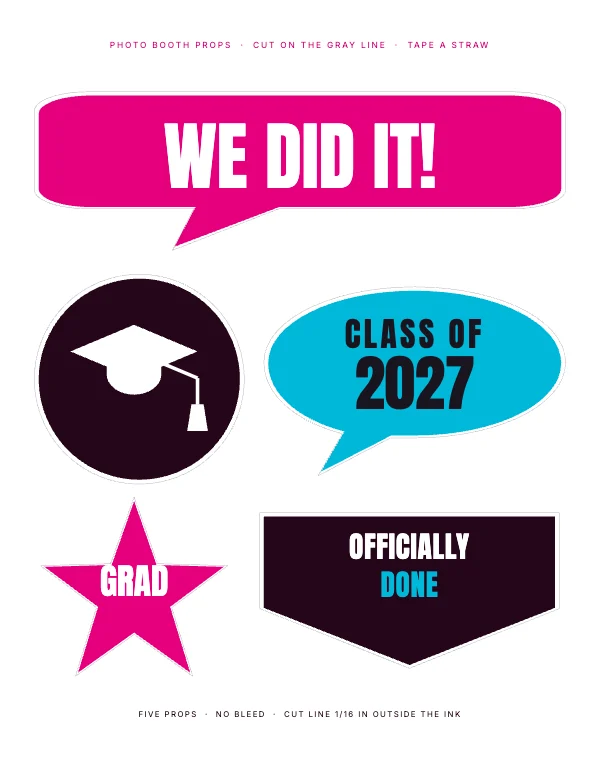
Photo booth props — five pieces sized to read in a phone photo taken across a room, which is larger than they look on screen.
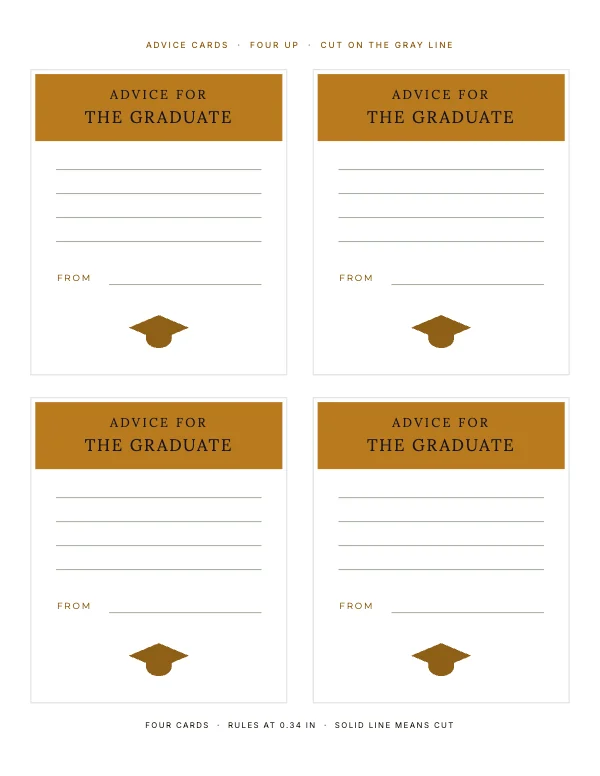
Advice cards — four cards per sheet with ruled writing lines, for a jar on the table. The guest activity that needs nobody to run it.
The yard sign and the announcement
The 18 × 24 yard sign is the piece that goes in the lawn, and it is the one thing here you do not print yourself — it wants corrugated plastic from a sign shop. It is included because it is part of the same weekend, not because it is the same production method.
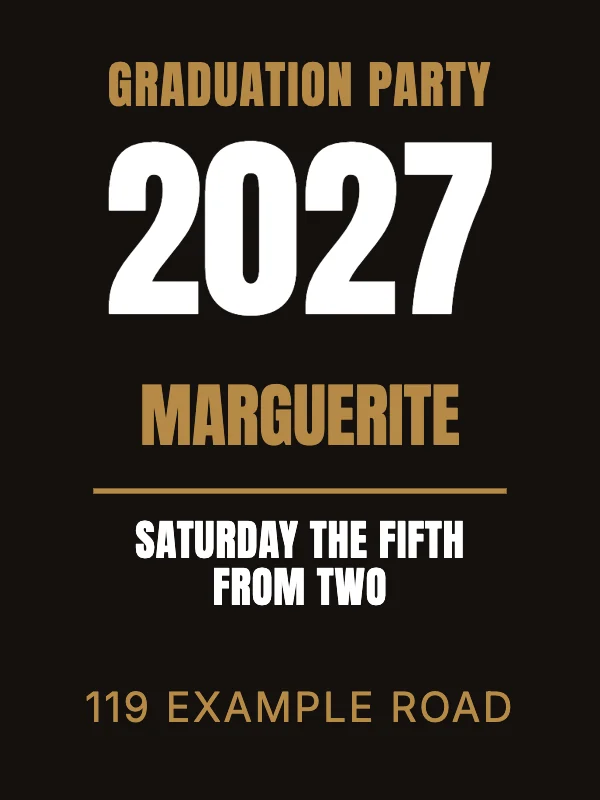
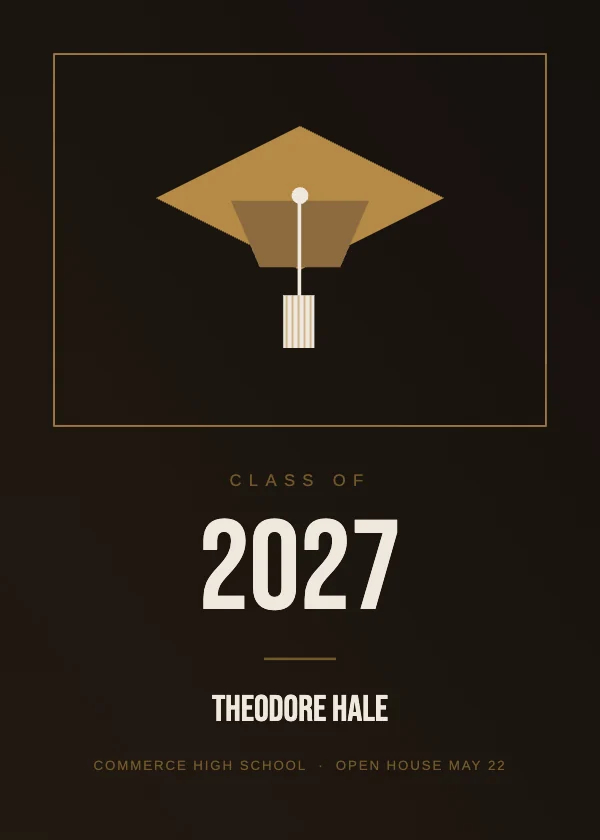
The 5 × 7 announcement is the mailer, and it takes a photograph. It is the only piece in this set with a photo slot; everything else is type and drawn shapes on purpose, because a party decoration printed on a home inkjet looks better without a photograph on it.
Write your own words on these
Every line of type on every sheet is an editable text element, and that is worth saying plainly for one reason: the phrases people want on graduation decorations are very often lines from books, songs and films, and those are somebody else's to license. The templates ship with plain wording — the year, the name, congratulations — so what arrives is safe to print and sell. If you replace it with a quotation, that choice and its permissions are yours.
The names, years and school are the parts worth personalizing anyway. They are what makes it this graduate's party rather than a graduation party.
Questions
What size are the party sheets?
All 8.5 × 11 inches at 300 DPI with no bleed, designed to print on letter cardstock in a home or office printer and be cut out by hand.
Why is there no bleed?
Because a consumer inkjet cannot print to the edge of a plain sheet — it holds an unprintable margin on every side. A design built with bleed gets scaled or shifted by the printer driver and everything moves. Built without it, the sheet you print is the sheet that was designed.
Which line do I cut?
The solid gray one, on every sheet. The table tent sheet also carries a dashed dark rule across each tent — that is a fold, not a cut.
Should I cut on the line or beside it?
On it. The line is drawn exactly 1/16 inch outside the ink for this reason, so cutting on the line leaves a thin white edge and cutting slightly wide still looks deliberate.
What paper should I use?
The heaviest cardstock your printer accepts — 65 lb or above. Toppers and props need to stay rigid when held up; regular paper curls.
Can I use these for a birthday instead?
Yes. The layouts are party sheets first and graduation second — retype the words and the same six sheets serve any celebration. That is why the templates live in Party Supplies rather than in a graduation-only section.
Can I sell things I make from these?
Yes, including at a market or on Etsy. No royalty, no credit, and the permission does not expire. That is true on the free plan as well as the paid one. What you may not do is resell our artwork as files in themselves.
Where to go next
Put together an occasion
Every category
How printing works
Open any of these and it is already the right size. Bleed, margins and trim are set, and there is no watermark on anything you export — on any plan, ever.